Balancing Robot (arduino, ez-gui)
- Chris EOM

- Mar 26, 2020
- 2 min read
Updated: Jun 6, 2023

I. COMPONENTS
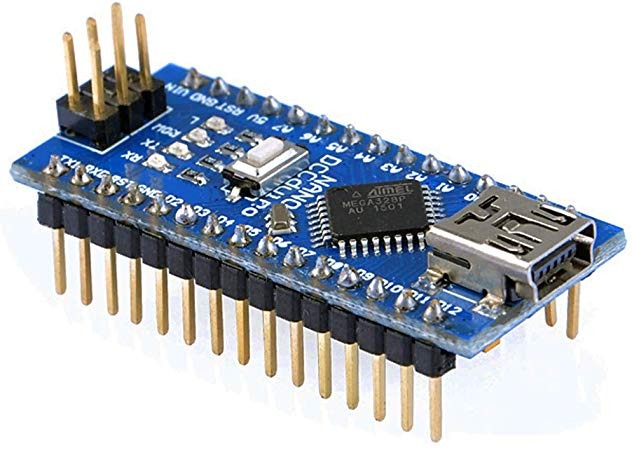
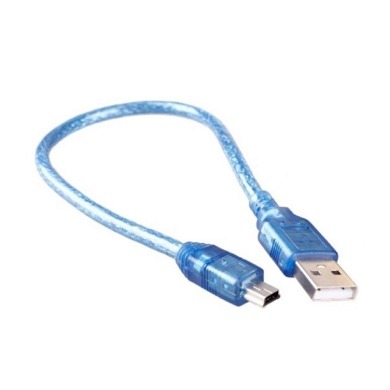
A. ARDUINO NANO: 1, USB MINI TYPE B CABLE: 1
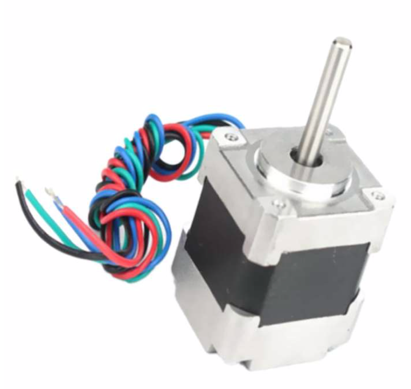
B. NEMA 17 STEPPER MOTOR: 2
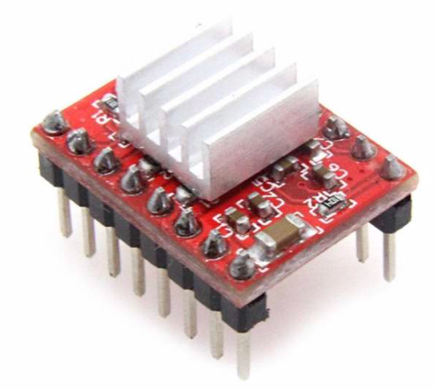
C. A4988 STEPMOTOR DRIVER: 2
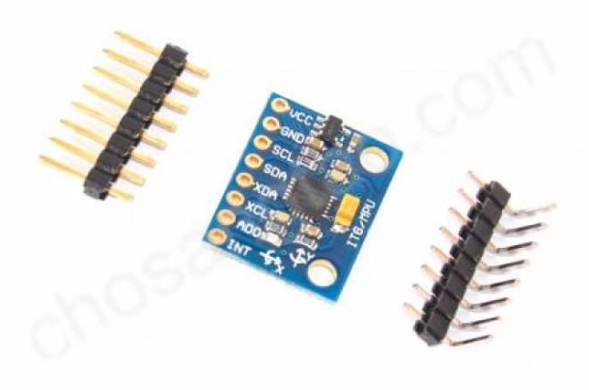
D. GY-521(MPU6050: GYRO, ACCELEROMETER): 1
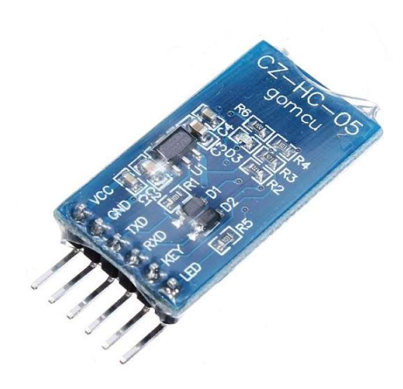
E. HC-05 BLUETOOTH MODULE: 1
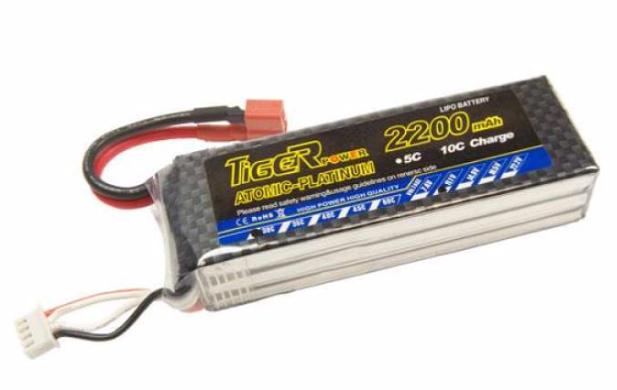
F. 11.1V LIPO BATTERY (3S 2200mAh): 1
G. 9V BATTERY: 1
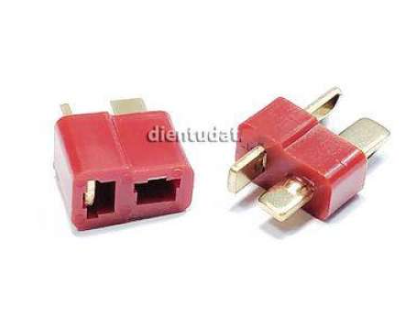
H. T PLUG MALE: 1
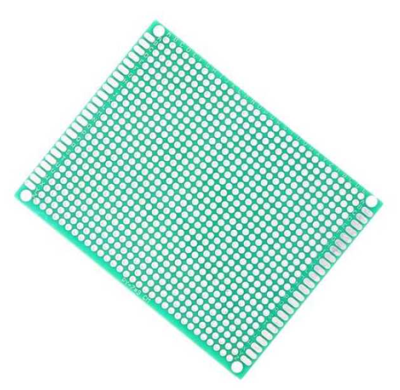
I. PCB 7x9cm: 1
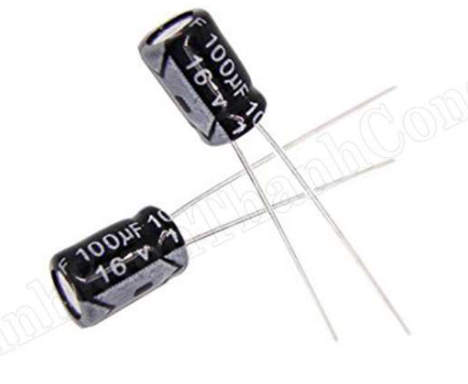
J. Condenser 16V 47uF: 2 (47uF~100uF)
K. Acrylic Sheet(30*40): 1
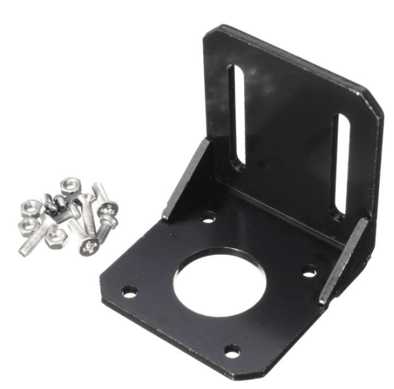
L. Mounting Bracket for NEMA17: 2
M. Shaft Coupling(Khớp nối trục) 4mm-5mm or 5mm-6mm: 2
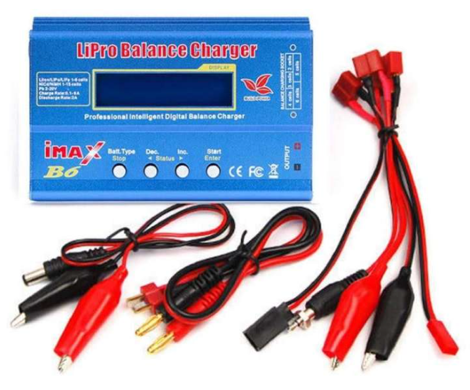
N. B6 Mini Multi-functional Balance Charger/Discharger: 1
O. Jumper Wire (M-M, M-F) (Dây nối 2 đầu đực): 2
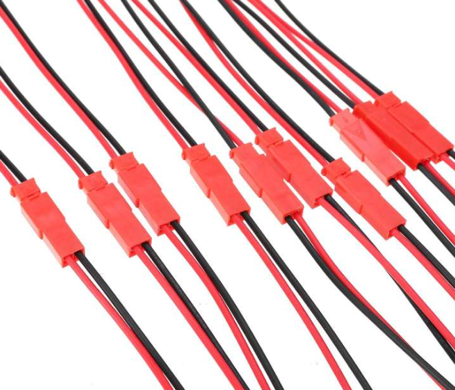
P. JST RCY CONNECTOR MALE/FEMALE: 4
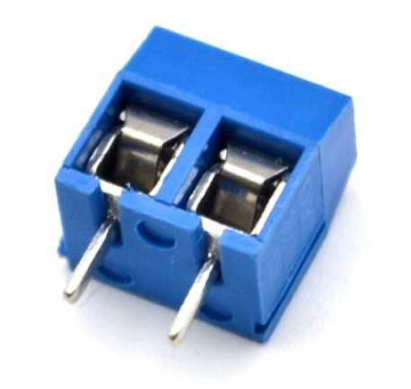
Q. KF301-2P: 6
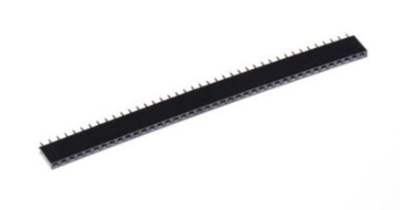
R. Female Pin Header: 10
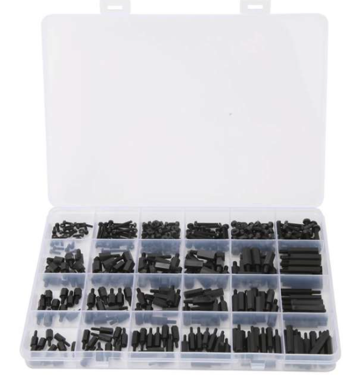
S. Nylon Hex Spacer Standoff Screw: 1
T. 1/8 RC tire: 2
II. Stepper motor control
A. Stepper motor deriver: A4988
B. Stepper motor: nema 17
C. Connection: 2B-2A-1A-1B
2B:RED/ 2A:BLUE/ 1A:GREEN/ 1B:BLACK
2B:BLUE/ 2A:RED/ 1A:GREEN/ 1B:BLACK
2B:BLACK/ 2A:GREEN/ 1A:RED/ 1B:BLUE
D. Potentiometer: https://youtu.be/5CmjB4WF5XA
E. Mode selector: MS1/MS2/MS3
F. Vmot: Voltage & Current(Ah) 11.1V
It is likely that current of 9V battery is too low for Vmot.(It was that Li-Po battery had enough current even if on 7.4V.)
G. Condensor: 47uF~100uF
H. How dose a stepper motor work? : https://youtu.be/eyqwLiowZiU?list=PLQWqqoPcxhTxo5UZVggaykB26A6T3zoyj
360°/50= 7.2°
7.2°*2=14.4°
14.4°/8=1.8°
360°/1.8°= 200(step)
south cap teeth(red color) <> north cap teeth(green color)


Ampere’s right-handed screw rule

III.Bluetooth control
A. Bluetooth module: HC-05, HC-06


1. HC-05 AT command

2. HC-06 AT command

B. Bluetooth Communication: Android app(JAVA)


C. UART Protocol: Digital oscilloscope (ASCII)
: https://youtu.be/IyGwvGzrqp8
D. HC-05 & HC-06 AT command mode: 115200bps / parameter3: parity bit=0
How to get to the AT mode (Commands of HC-05 and HC-06 in AT mode are different.)
Way 1:
Step 1: Input low level to PIN34.
Step 2: Supply power to the module.
Step 3: Input high level to the PIN34. Then the module will enter to AT mode. The baud rate is as same as the communication time, such as 9600 etc.
Way 2:
Step 1: Connect PIN34 to the power supply PIN.
Step 2: Supply power to module (the PIN34 is also supplied with high level since the PIN34 is connected with power supply PIN). Then the module will enter to AT module. But at this time, the baud rate is 38400. In this way, user should change the baud rate at the AT mode, if they
forget the communication baud rate.
E. Rx: 3.3v / Tx:5V
IV.GY-521 gyroscope control
A. gyroscope control module: GY-521(MPU6050)
B. 3D Models in Processing
C. Vcc: 3.3v(3V~5V is possible but I recommend to use 3.3V because whenever using 5V my mpu6050 modules were destroyed in a week.)
Normally the Wire library does not do this, but beginners make mistakes and quite frequently destroy these modules. I recommend using level shifters on both data lines for exactly this reason.
D. I2C Protocol: Master/Slave
E. x/y/z: Roll/Pitch/Yaw

V.PID control
VI.Balancing Robot Source code:
B. link: https://github.com/mahowik/BalancingWii.git
C. File name: The fold name of "BalancingWii-master" after downloading should be changed into to “BalancingWii”
VII.Li-Po battery & Li-Po battery charger/discharger: B6 balance Charger
A. Balancing charging -> connection:

B. Usage of Li-Po battery: https://youtu.be/osfgkFyq7lA
C. Storage of Li-Po battery: https://youtu.be/jZ7ZSGDVwDM
VIII.EZ-GUI app

A. EZ-GUI

Settings


After connecting:


PID SET:You can reference the value of the below.


B. You must start your robot on normal mode(HIGH or MID) at first time. If not, the robot on Position holding will continue to move forward or backward.
i. Mode: "Position holding"/ "HIGH" / "MID"

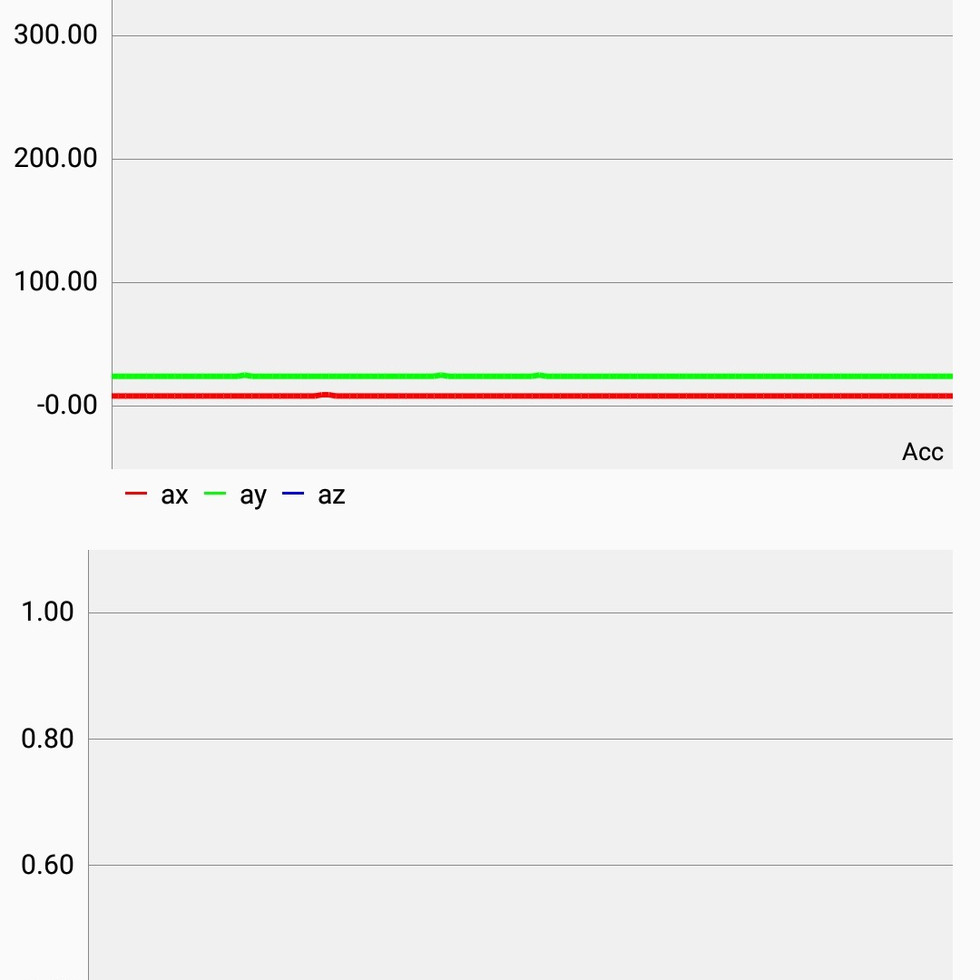
C. You can see the operation of your gyro sensor.

























My stepper motors are not moving only vibrating and not spinning when controlled in ez gui app any solution to fix?????